I’ve been so busy working on this project that I haven’t really taken progress photos, or made any posts to show how I’ve made it. Hopefully these pics will give some idea.
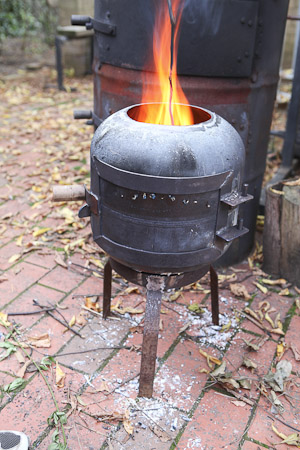
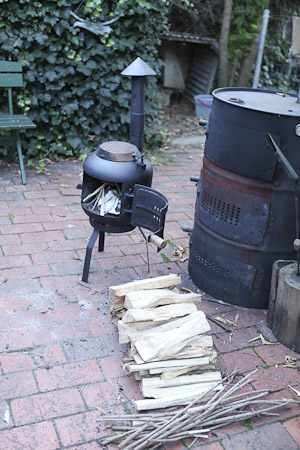
Once much of the construction was done, it was time to burn off the paint, ready for coating in Pot Belly black. The chimney has yet to be fitted, so the top is off. This helped me to decide to make a removable top, rather than weld the cover on. It’s fun for just using as a campfire, and for toasting marshmallows!
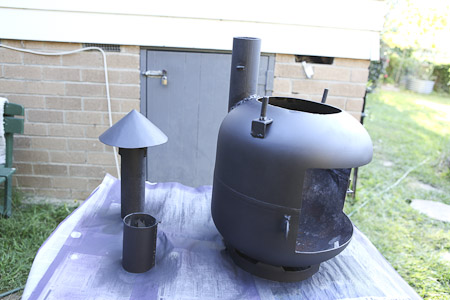
The chimney has a short extension with chinamans hat, fitted by an oversize sleeve. All painted in stove black.
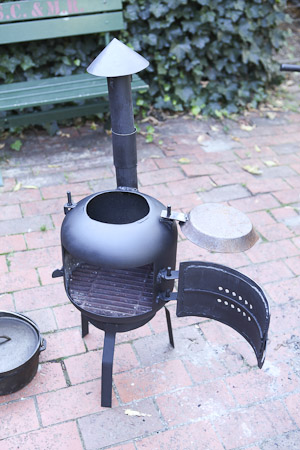
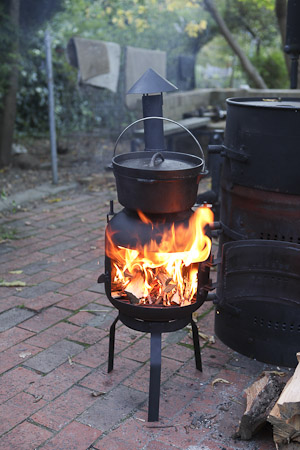
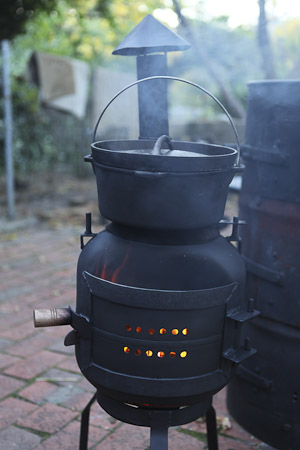
Once painted the first full fire was set up. Previous tests had shown a need for some vents in the front door, which were drilled prior to painting. All the materials for this stove are scrounged or scrap. The only parts which cost money were the fry pan lid and the grate. Each were from the local tip shop and cost a dollar or two each. The grate is actually a BBQ grill, cut to shape with the angle grinder. I picked up several quite thick and heavy ones for a few dollars.
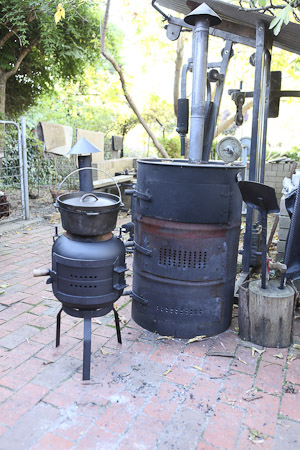
The removable top should become a functional cook-top, so I decide to test it with a damper in the camp oven. Little newcomer would now compete with its big brother, the 44 gallon pizza oven! The gas bottle stove’s stand was an impulse design which has worked out really well. Simple to make, effective and it even fits upside down over the top for storage and transport.
I split a few blocks up ready for the test fire. Turned out I only needed about half the pile to heat up the stove, cook the damper and polish off a few cold ones!
The stove seems to be a bit harder to light than the bigger 44 gallon pizza oven. It’s flue is smaller, and doesn’t have the draft flow from the lower ash pan like the bigger oven. But once it’s up and running, it’s a strong burner.
To get it to burn well with the door shut takes a bit of patience. Fully closing the door when the firebox is raging just results in a big smoky mess! But a slower, staged closing allows the fire to balance with the air flow.
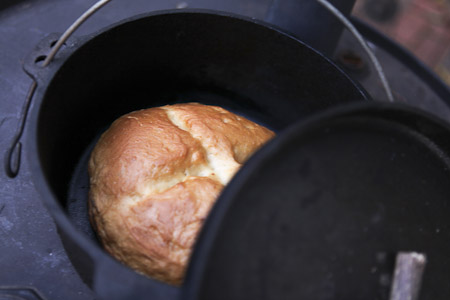
The resultant damper was a pleasing result. Bit burnt on the bottom, but good inside and on the top.
I’ve had a great time building this stove. My welding is still pretty dodgy, but it’s getting better, and I have ideas for improvements on this stove, and designs for others to come.
Stay tuned for more wood burner fun. I’m taking this one camping this weekend, so it should be fun!
Brian.
Tags: 44 gallon drum, camping, gas bottle wood stove, gas cylinder stove, like ozpig, not ozpig, oven, pot belly black, scrounged materials, stove, welding, wood fired, wood fired pizza oven
