Oil leaks are never fun. So I decided it was time for some maintenance on the Kombi. A ’75 model, Bay window which is very much a user, rather than a show car. I had the motor and gearbox re-built about 3 or 4 years ago but the pushrod seals had now started to leak and mess up the driveway again.
Not sure of all the processes, and finding the workshop manual good to reference, if you knew what you where doing in the first place, I researched the internet. The local Kombi forum came up with some gems which I’ll reference here.
Pushrod tube seal replacement
http://forums.kombiclub.com/showthread.php?p=277803
Tappet adjustment
http://forums.kombiclub.com/showthread.php?t=33976
These gave me the confidence to set aside a few days and order the parts required. These came from Just Kampers http://www.justkampersaustralia.com
These guys had all the bits, although i had to wait for a container to arrive, but everything got here before the Christmas break.
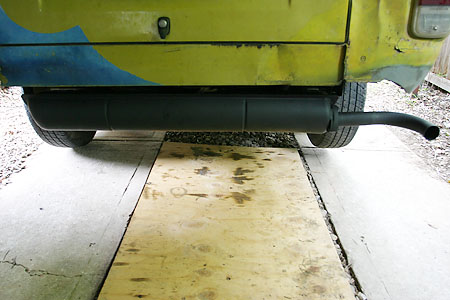
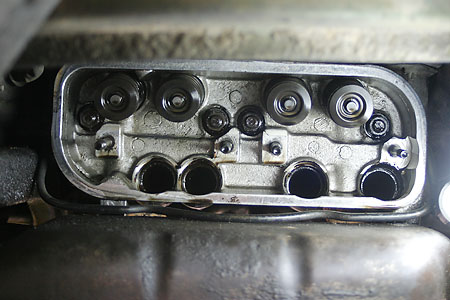
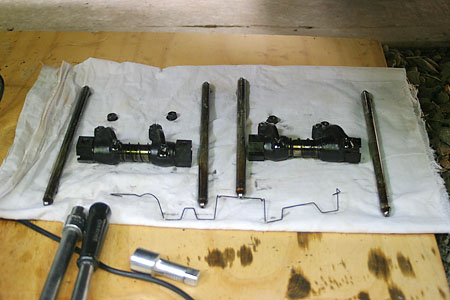
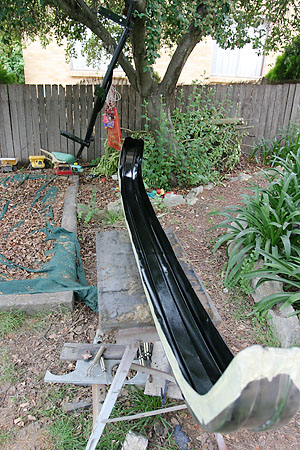
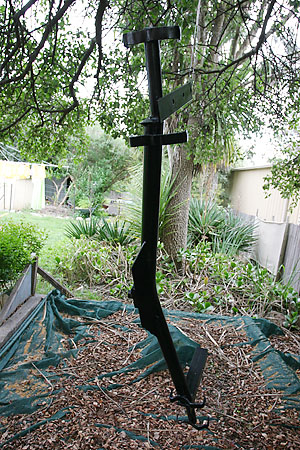
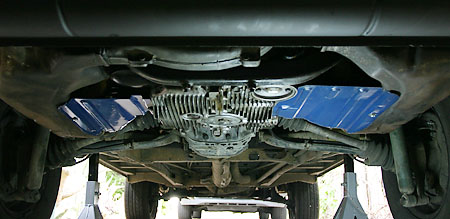
So I replaced the pushrods and their seals, adjusted the tappets, put reconditioned tappet covers (painted blue) in-place of the old ones, removed, re-painted and re-fitted the exhaust with new gaskets and bolts, and I’m currently re-painting the bumper and its support bracket, for installation in the next day or so.
The exhaust was rusted to the tail pipe and needed a blow torch to loosen the bolts. Otherwise all good, and a solid wire brushing was all that was needed before several coats of heat resistant muffler paint went on.
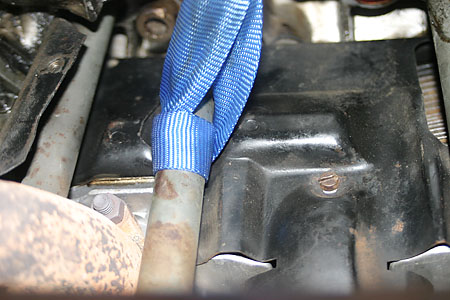
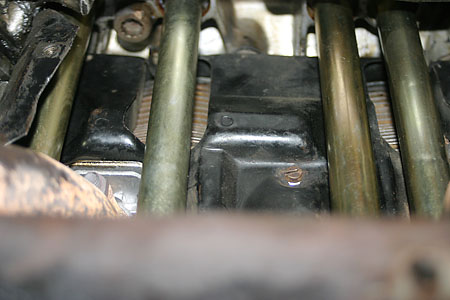
The pushrods were very well seated in place and needed a huge amount of effort to extract. I ended up wrapping a webbing strap around the tube several times, threading the ends out over the heat exchangers and attaching them to a bar from the weight lifting kit. Bracing against the rear wheel I then used all my strength to pull the tube out of its place. I was sure something else would break given the force used, but nothing did and the old tubes look like they will clean up into good spares.
New seals were set in the new tubes and everything was put back in place.
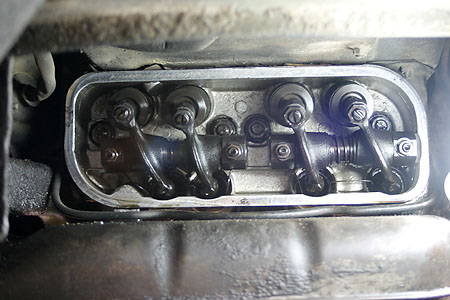
The tappets proved to be much less trouble and I didn’t need the spare adjuster screws or nuts which I had ordered for the job. I used the workshop manual specs for my 1800 (now 2000 after re-build) as opposed to the clearance specs referred to the in the Kombi forum post which could have been for the 1700 motor. I also referred to the manual to ensure I knew which rocker set was for the inlet and exhaust value. The forum post got this a little confused I think. Not an issue when clearances are the same for both, but important when they aren’t!
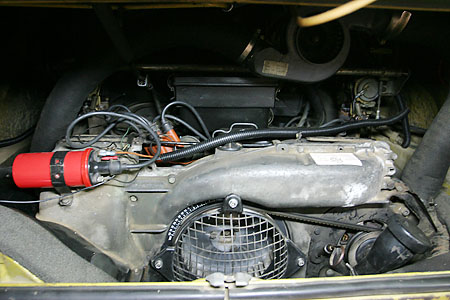
Shiny blue, reconditioned tappet covers were put back on and the Kombi was ready for a test fire up. All seemed to work as expected and sounded good. Will try a road test in few days when everything is back in place.
The bumper bar was old, twisted and chipped, with a dodgy paint job I did 13 years ago when I first bought the car. It took alot of wire brushing (brush on the angle grinder) to get the old paint off the bumper section, but the finish is looking pretty good. The steel bracket was also given a quick brush and got a coat of rust proof gloss black as well as the insides of the bumper. I’ll fit the thing together before painting the outside of the bumper, as I’m sure there will be a bit of bashing and twisting required to get it all back together!
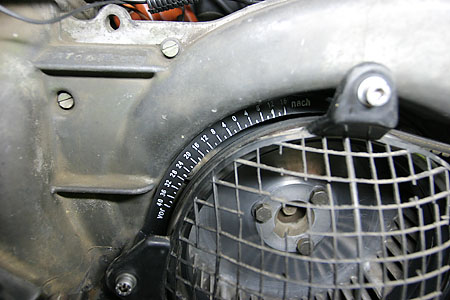
One addition I do like is the cheap plastic timing scale which I dressed up with white paint on the numbers (easy to do as they are raised) and a coat of clear gloss. Looks good around the cleaned up fan. Pity I haven’t found a new or better fan grill cover yet.
Here’s to a happy summer of Kombi cruising! More maintenance stories to come as I work my way through a rather long list.
Brian.
Tags: Kombi, muffler, pushrod puller, pushrod tubes, pushrods, re-paint, rockers, tappets, timing scale
