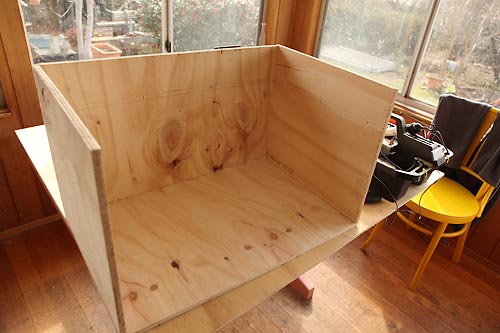
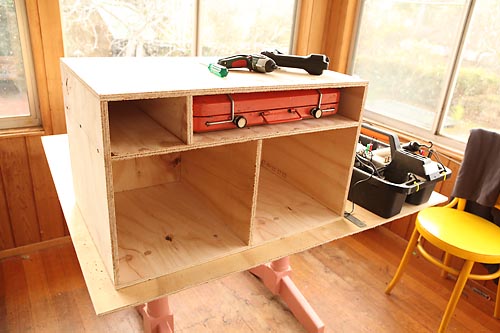
Things are moving along slowly on the camping box assembly line.
It’s always the first joint that is the hardest, as everything wants to just fall over! Once that’s done, things can progress.
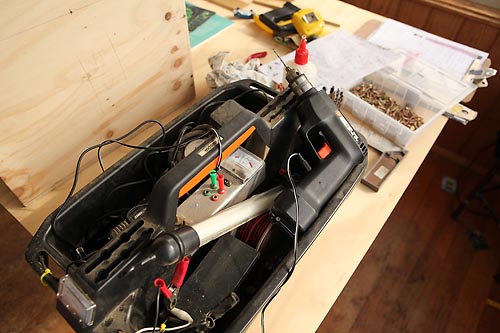
My normal 240 volt drill has given up the ghost after 15+ years of service, so whilst I contemplate what to buy to replace it I’ve been using my homemade 12 volt tool kit. The drill is an old re-claimed Black & Decker re-chargable from the days before battery technology was any good. It is powered by the 7Amp hr sealed battery, which is charged sometimes by a solar panel installation and sometimes by the 240 volt charger. It’s good for most small holes, but the spade bits put too much drain on the battery if it isn’t fully charged! I should make a full post about this kit. It’s a bit fancy with voltmeter, ammeter and a range of connection plugs built in for the drill, compressor, light and any other 12 volt tool I happen to find.
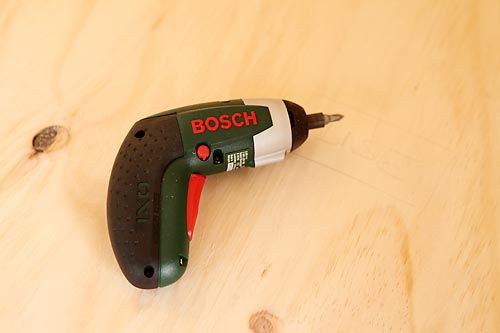
I’ve been using this little screwdriver which was a prize from a quiz night. It’s good for the pre-drilled holes in this project.
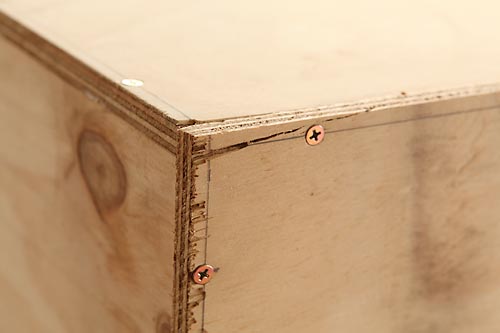
The corner here looks a bit scrappy now, but should tidy up nicely with a good sanding and varnishing. A few of the larger flaws are filled with putty. These are normally the flaws in the ply timber rather than my construction flaws. I pre-drilled each panel before assembly, then dry fit them and drill the end on panel to avoid splitting and make the join more accurate. Each join is also glued of course, which will contribute most to the strength once fully cured.
The assembled case looks good with the stove in it’s place. An all over sanding and several coats of varnish will finish things off. Oh, and some handles too, like the ones on the first series of boxes.
Stay tuned for the draw construction and finishing processes.
Brian.
Tags: 12 volt tool box, camping, camping boxes, electronics, re-chargeable screwdriver, scrounged materials, solar
